Back to service-section
Wild MPS 52 analogue microscope / macroscope camera - conversion to digital documentation
11.04.2021
The documentation system Wild / Leica MPS 52 was an image recording system based on analogue 35 mm film. Do we need something like this in times of digital photography? In times of ubiquitous smartphones that can be easily adapted to microscopes, the dusty technology from the analogue era is completely superfluous...?
My answer is yes and no... For a quick documentation through the eyepiece you certainly don't need such things.
However, if you want to adapt existing full-frame digital cameras to microscopes or stereo microscopes, considerable problems arise. On average, modern microscopes have a field of view of approx. 25mm in diameter; at best, 1 inch cameras would be adaptable here without optical adjustments. For correct illumination of the full format, on the other hand, adapting optics are needed. This is often difficult to obtain, as microscope manufacturers provide very little support for these components. The digital cameras of the microscope manufacturers have correspondingly much smaller sensors with corresponding adapting optics, which are, however, unusable for normal digital cameras.
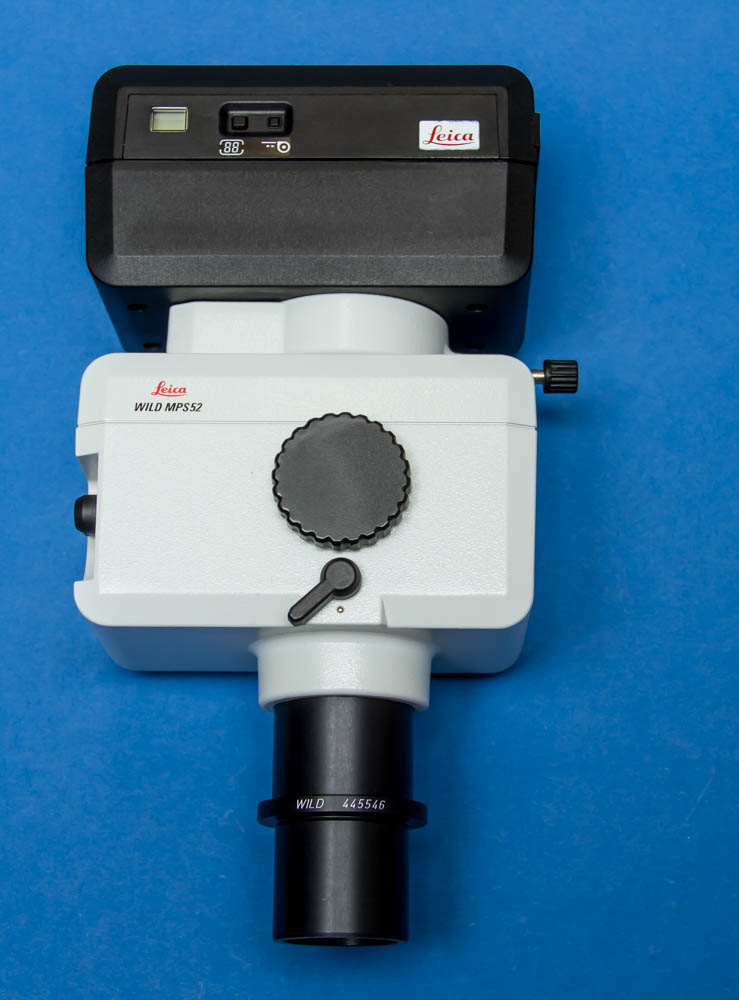
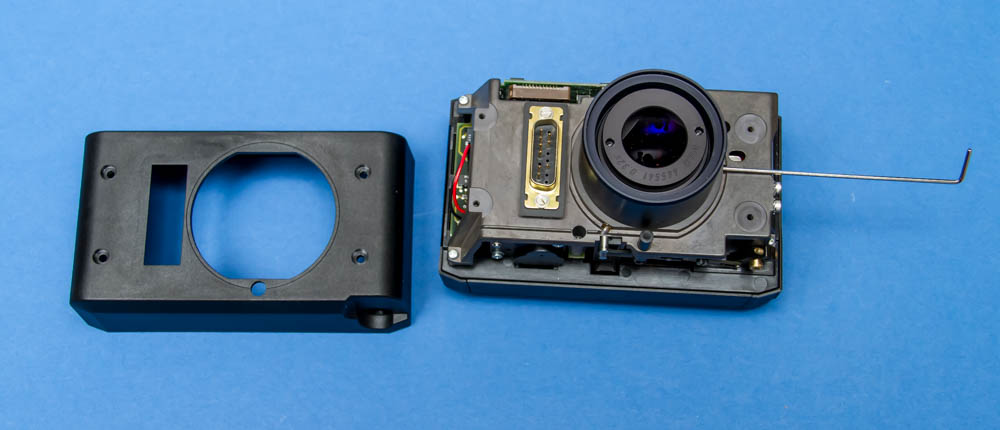
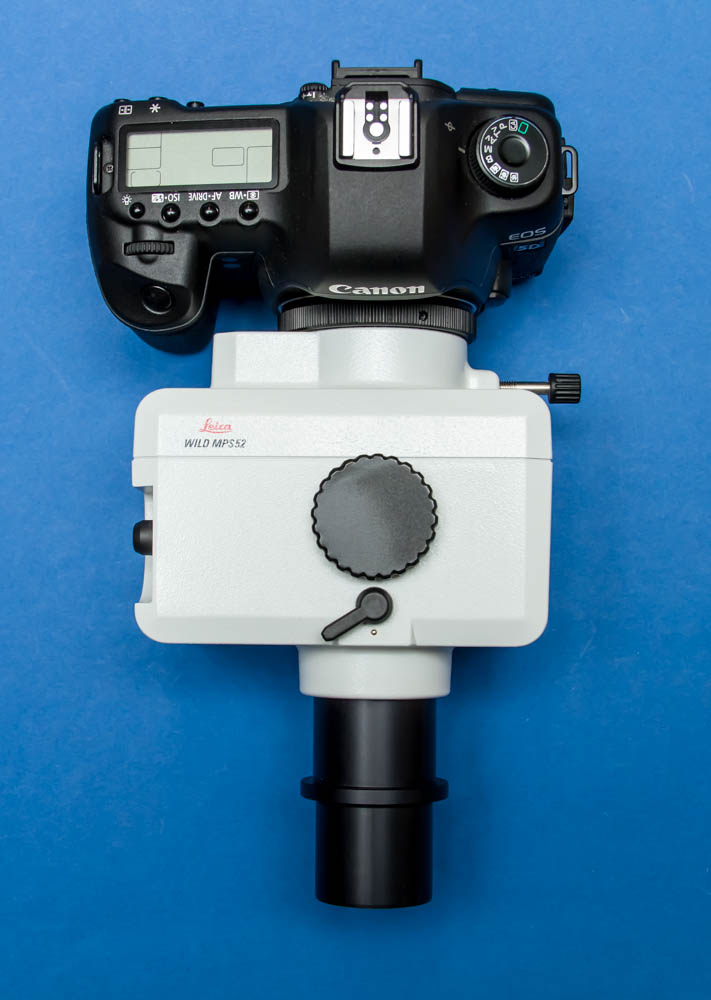
Now the MPS52 system comes into play. The components are very cheap to buy second-hand and the optics for adapting to full format are already part of the system. If you also have the matching mechanical shooting tube and photo lens, you have a complete system. Only minor modifications are necessary to be able to continue using this high-quality material digitally. The picture above shows a complete MPS 52 system, but the control unit for the exposure settings etc. is missing, although it is no longer needed.
The system consists of a film cassette with a lower part for the film transport, shown in black in the picture above. Below this is the control unit, painted white, with the shutters for exposure and the measuring cells for exposure metering. At the lower end, in black, is the tube for use in the corresponding microscope tubes, with the projection eyepiece lens inserted.
The aim of the conversion is to replace the upper black 35 mm unit with a digital camera. First of all, some modifications have to be made to the control unit. The shutter and the exposure meter are no longer needed, the digital camera takes care of that. By loosening the 3 screws on the top, the two halves of the system are separated.
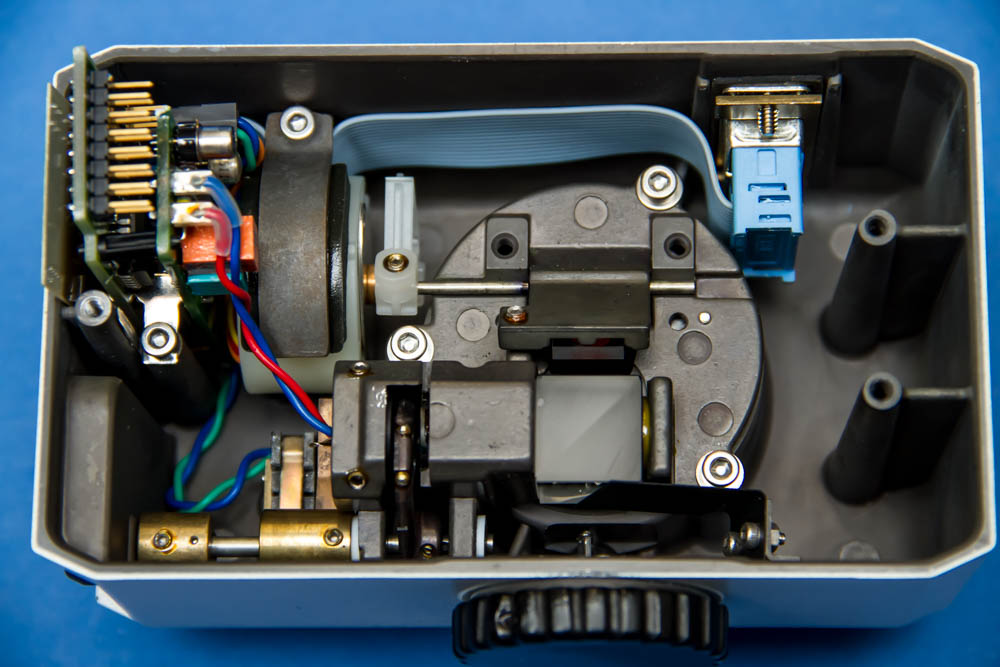
The picture above shows the view into the lower assembly of the control system with the deflection mirror for the exposure measurement. This must be removed so that the beam path from the microscope is free. The clamping screws for the axle bearing on the right and left of the mirror have already been removed here.
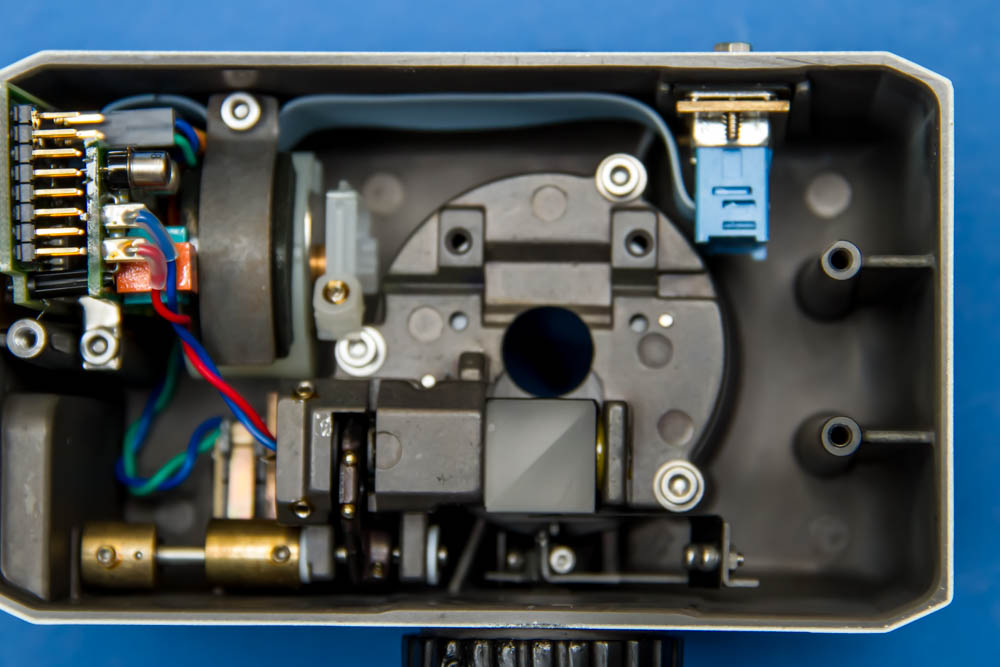
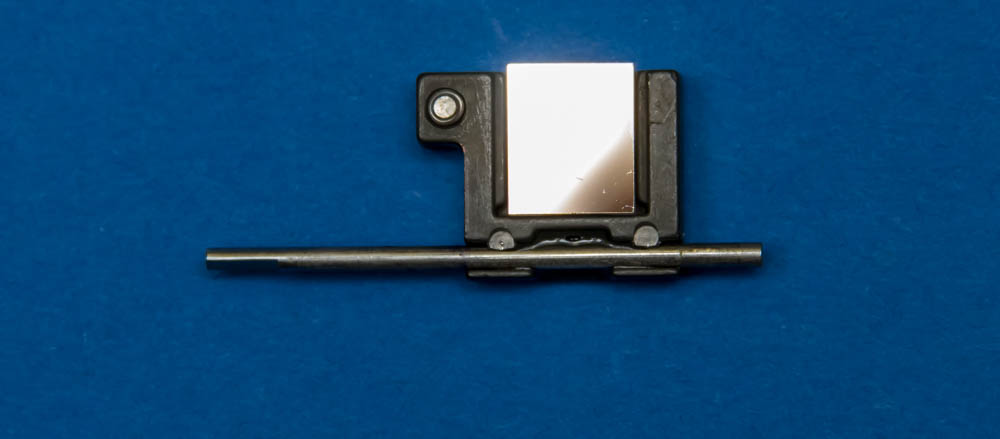
Here the mirror is finally completely removed, the view of the hole towards the microscope is free. The next picture shows the removed mirror.

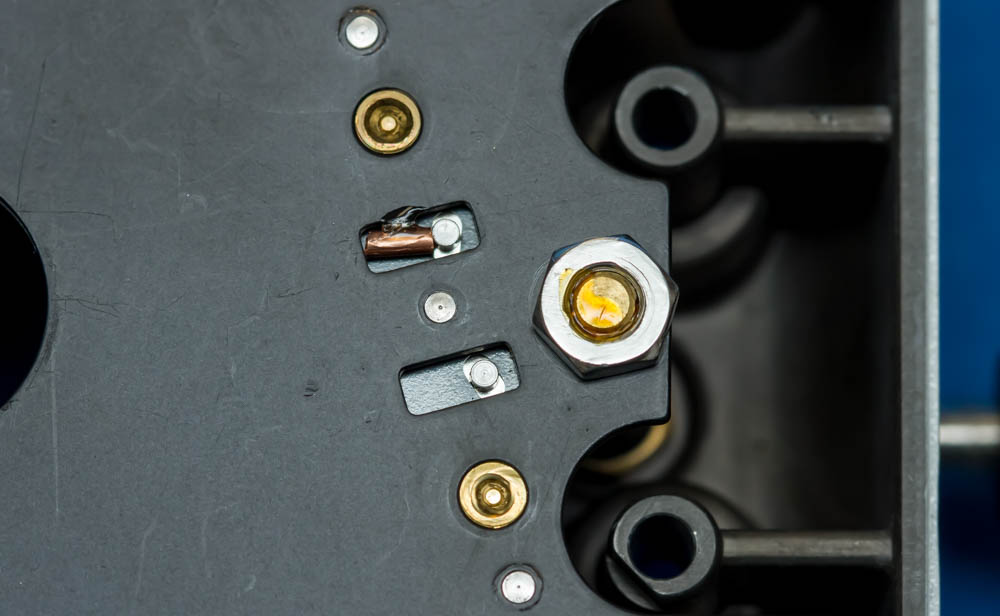
After that, the shutter must be blocked in the open position. The picture above shows the already blocked shutter, which is located in the upper half of the control unit. The blockage is easily accomplished with a piece of wire, as the following close-up shows. The section of wire is secured here with a small drop of glue.
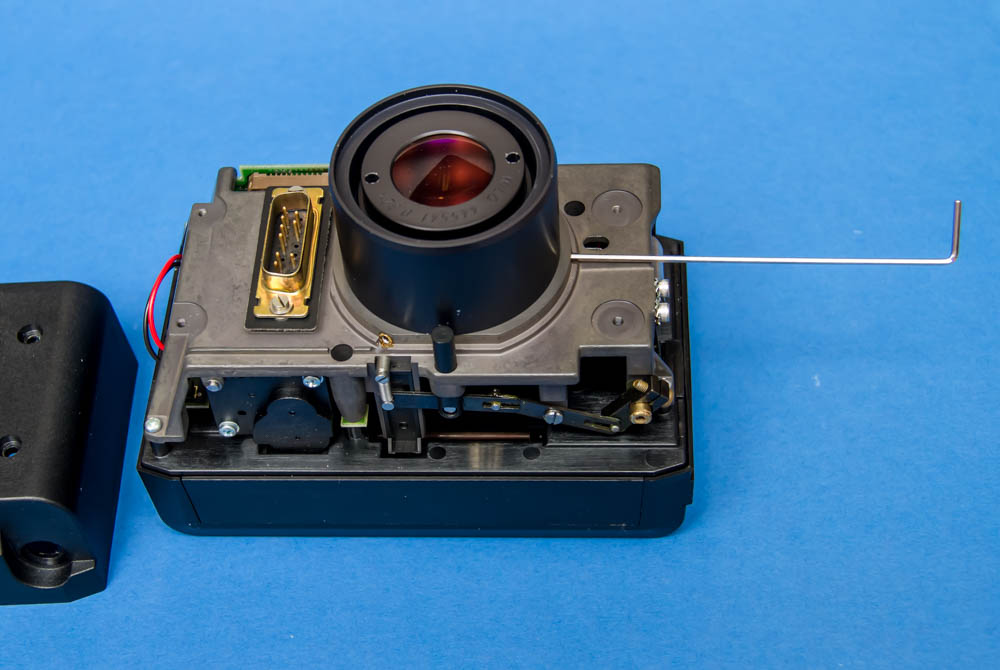
The modifications to the control unit are now complete and the two system parts can be screwed together again.
The transition tube on the camera body must now be removed. This tube contains the adapter lens for the 35 mm format. To do this, unscrew the bottom of the camera body, the small lever for separating the film cassette must also be unscrewed for this purpose. The following picture shows the inside of the camera unit with the bottom removed. Now the 3 Allen screws, width across flats 1.5 mm, must be loosened to free the tube.
After that, the tube can be easily removed from the camera body:
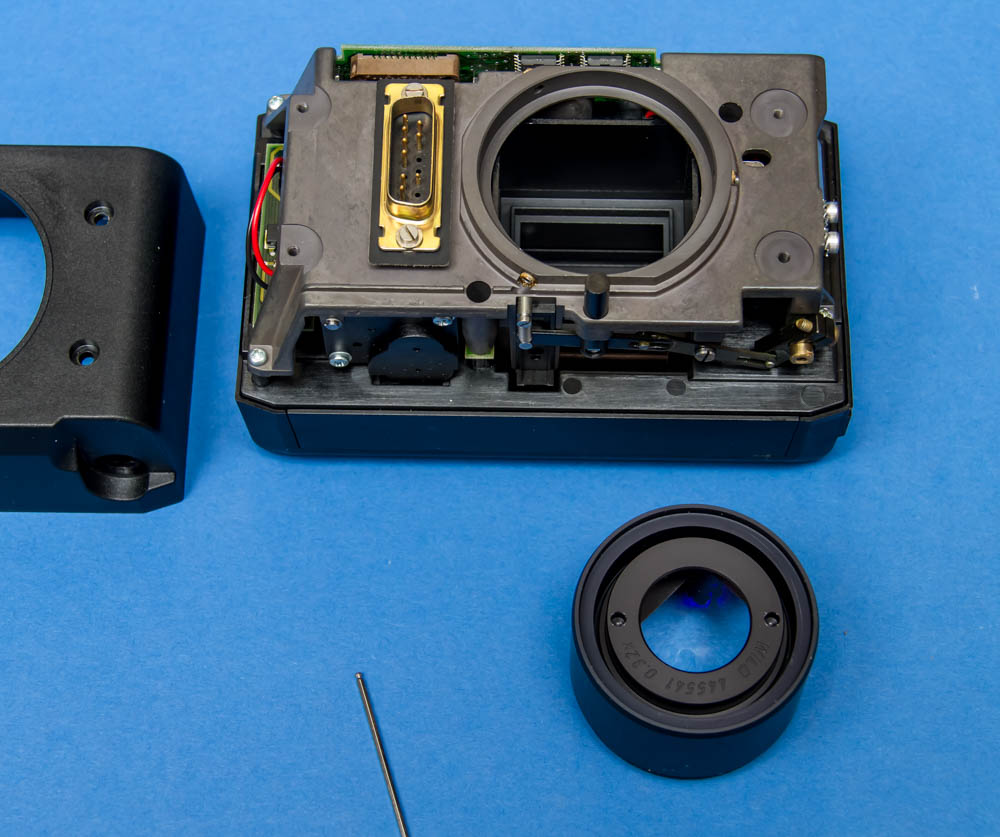
The remaining components of the camera unit are now no longer needed.
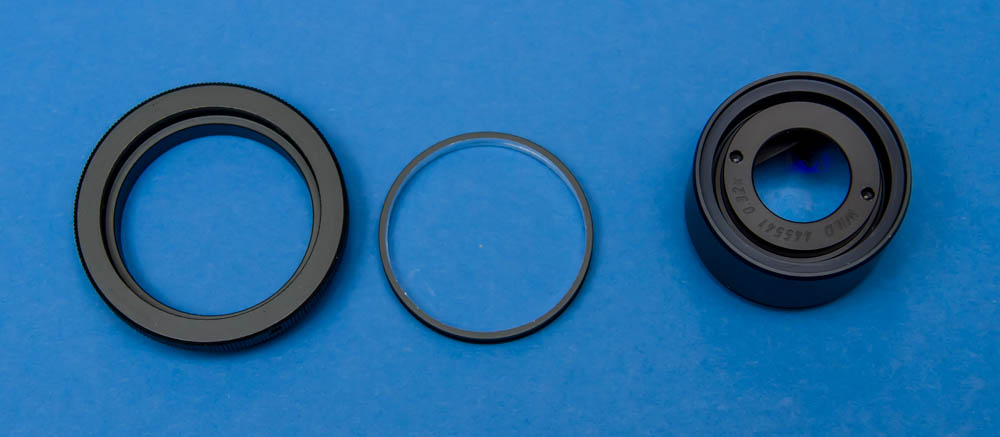
Now this tube must be connected to the corresponding bayonet adapter of the digital camera. To do this, the inner ring of the adapter, which contains the T2 thread, is turned off until it fits over the mount of the MPS52 tube. The remaining material thickness is small, caution is advised here, as the picture above shows.
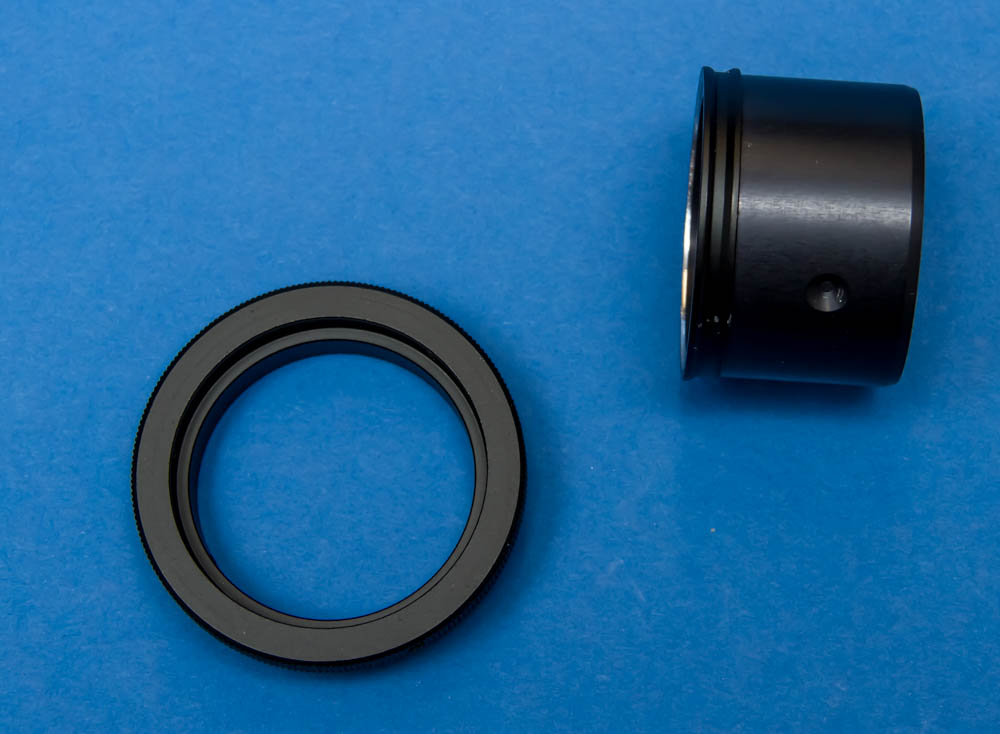
The picture above shows the parts pushed together, which are then inserted into the bayonet ring. Pay attention to the alignment of the rectangular aperture, as the following picture shows.
After screwing in the adaptation optics again, the conversion is complete and the components can be assembled.
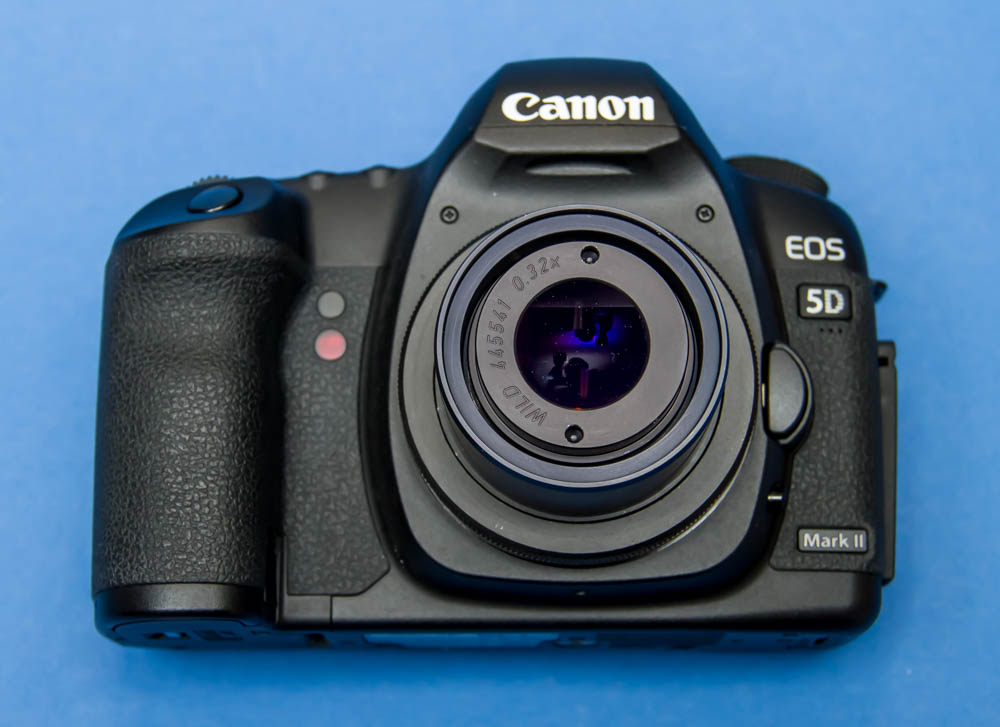
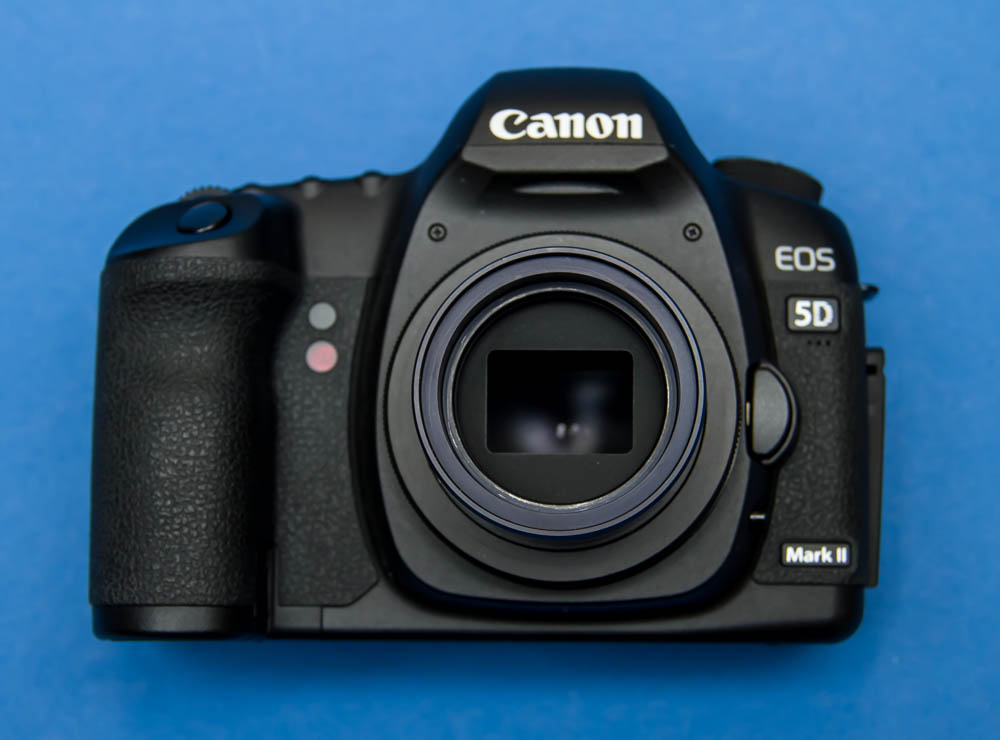
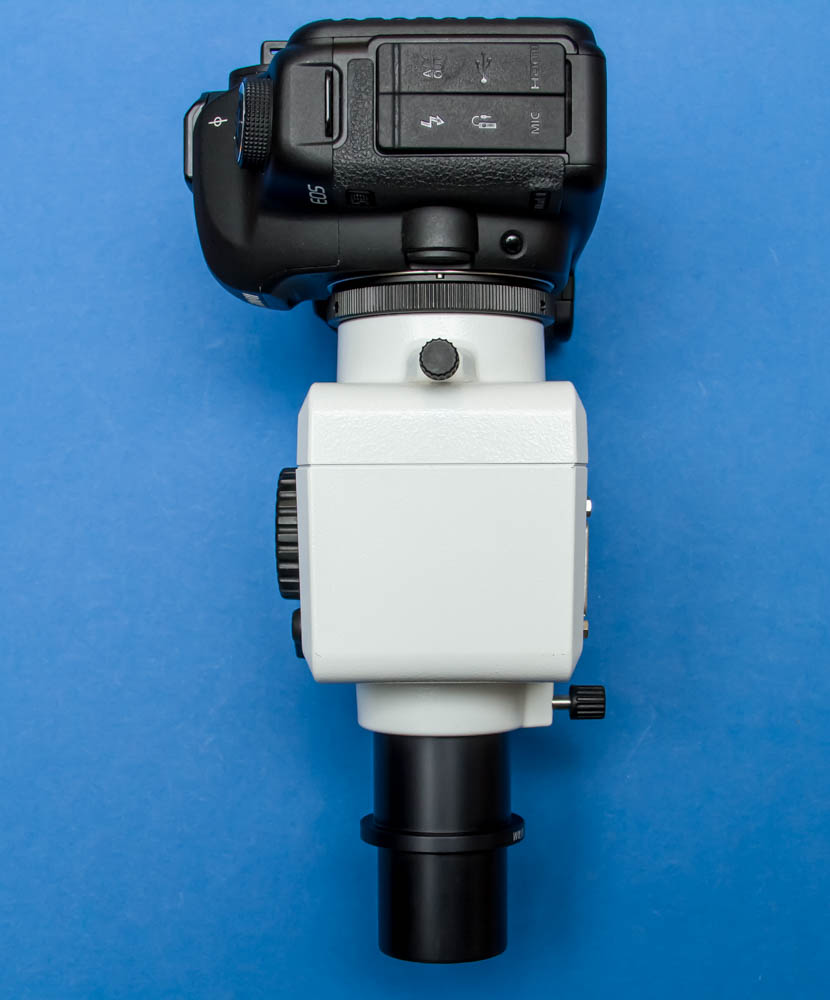
The following pictures show the finished set-up, the digital camera now replaces the analogue film cassette.
Finally, the usual test image that illustrates the convincing quality of the MPS 52 optics even with current camera technology. The image shows a foraminifera shell (Baculogypsina sphaerulata) from Okinawa, Japan, a Leica MZ8 dissection microscope served as the imaging platform.

Conclusion
The adaptation of the Wild MPS 52 camera system to a full-format digital camera can be realised with little effort. The white control unit serves here as an inactive spacer of the existing adaptation optics, the digital camera is attached in place of the original film camera. The images obtained are of excellent quality. It is definitely worthwhile to continue using the proven technique digitally.